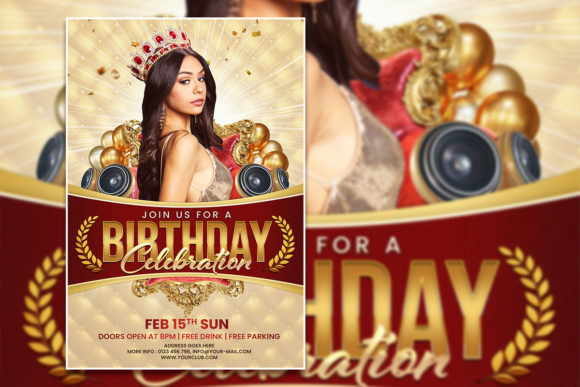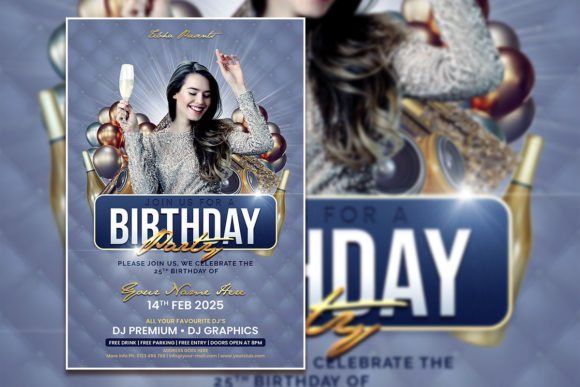
Create Unforgettable Moments with a Birthday Party Invitation Template
Every memorable celebration starts long before the candles are lit. It begins with the first glimpse of an invitation—a visual promise of the fun, laughter, and memories to come. For designers, entrepreneurs, and party planners, crafting that perfect first impression is both an art and a challenge. A versatile Birthday Party Invitation Template serves as a powerful starting point, transforming a blank canvas into a polished, professional design ready for personalization. This isn't just about filling in blanks; it's about unlocking creative potential and ensuring every detail aligns with the celebratory spirit you want to convey.
Beyond the Basic Invite: A Foundation for Creative Projects
While its primary function is clear, the true value of a high-quality, fully editable PSD template lies in its remarkable adaptability. Think of it as a robust design asset, a springboard for a multitude of projects that extend far beyond a single event. The organized layers and professional file format provide a structure that saves hours of setup time, allowing you to focus on the creative details that make a project unique.
Consider the diverse applications for a template with such flexibility. It can be the cornerstone for a consistent brand identity for a small event planning business, ensuring every touchpoint—from the initial invitation to the thank-you note—feels cohesive. For a content creator, it becomes the basis for eye-catching social media graphics announcing a live stream or a giveaway. The high-resolution, print-ready specifications make it equally effective for producing physical materials like posters for a local community event or merchandise for a fan gathering. The template is not a finished product but a professional starting block.
The Anatomy of a Professional Design Asset
What separates a generic template from a truly useful one? It comes down to thoughtful construction and professional specifications. A template designed at 2000 x 3000 pixels in RGB color mode with a 300 dpi resolution is built for versatility. This size is ideal for both digital displays and high-quality printing, ensuring your designs look sharp on a phone screen and crisp on a printed flyer. The RGB color mode is perfect for digital use, offering a vibrant color palette that pops on screens.
The inclusion of a well-organized PSD file is crucial for any user of Adobe Photoshop. Clearly labeled layers mean you can easily isolate and modify individual elements—swap a background, adjust a color scheme, or reposition text without disrupting the entire design. This level of control is what empowers you to move beyond simple text replacement and truly customize the visual narrative. The accompanying JPG file provides a quick preview or a ready-to-use version for those who may not need extensive edits, while a helpful TXT file with font links ensures typographic consistency is maintained.
Practical Customization: From Template to Masterpiece
The journey from a provided template to a personalized design is straightforward, especially with the right approach. The key is to view the template as a framework for your vision. Start by defining the tone of your event. Is it elegant and sophisticated? Playful and whimsical? Bold and modern? This decision will guide your choices in color, typography, and imagery.
Changing the text is the most immediate step. Selecting the text with the text tool and replacing it with your event details is simple. However, to elevate the design, consider how you can adjust the font itself. The template provides a starting point, but you might want to explore different typeface pairings. A display font for the headline can grab attention, while a clean sans-serif font for the details ensures readability. The goal is to create a visual hierarchy that guides the viewer's eye from the main announcement to the essential information like date, time, and location.
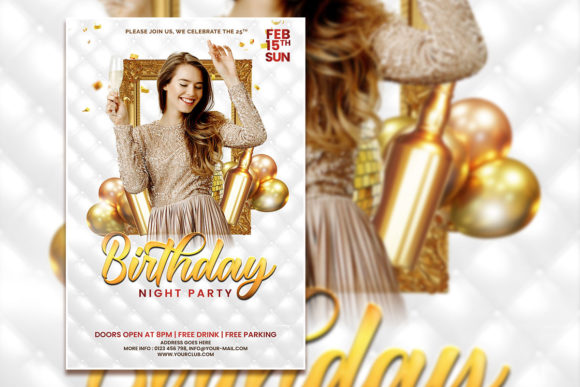
Visual customization goes deeper. Replacing the placeholder photo with your own image instantly personalizes the invitation. Whether it's a photo of the birthday celebrant, a thematic image, or a custom graphic, this single change transforms the template into something uniquely yours. Experiment with the color overlays, adjust the brightness and contrast of your photo, or use the organized layers to add or remove decorative elements like borders, icons, or background textures. This process is where the template's real design value shines—it provides the professional scaffolding upon which you can build your creative expression.
Strategic Applications for Brands and Creators
For small business owners and entrepreneurs, consistency is key to brand recognition. A customizable template system allows you to create a suite of materials that all share a common visual language. Imagine using the same core design elements—the color palette, a signature font style, a recurring graphic motif—across your birthday event flyer, social media posts, and even a digital banner for your website. This cohesive approach builds a professional image and makes your brand more memorable.
Content creators and marketers can leverage such templates for rapid, high-quality content production. Announcing a milestone celebration, a product launch tied to an anniversary, or a special subscriber-only event becomes efficient and visually consistent. The template ensures every announcement feels polished and intentional, which helps in building audience trust and engagement. It’s a practical solution for maintaining a high standard of visual communication without requiring a dedicated design team for every piece of content.
Even for personal projects, the benefits are tangible. Using a professional template for a family member's birthday party adds a layer of thoughtfulness and care to the invitation. It shows you’ve invested effort into creating something special, which sets the tone for the celebration itself. For hobbyists and crafters, it’s an opportunity to learn about design principles like layout, typography, and color theory in a hands-on, practical way.
Maximizing Your Template: Tips for Effective Use
To get the most out of any editable design asset, a few best practices can make a significant difference. First, always work on a duplicate of the original PSD file. This preserves the pristine template for future use or for other projects. Second, take the time to explore all the layers. You might discover hidden elements or design variations that weren't immediately obvious.
When it comes to typography, resist the urge to use too many font styles. A good rule of thumb is to stick to two complementary typefaces—one for headings and one for body text. This maintains visual harmony and prevents the design from looking cluttered. Ensure your text is legible at various sizes, especially for crucial details like phone numbers or addresses. Test your final design by viewing it at different zoom levels and on different devices to check for readability and impact.
Finally, consider the end-use of your design. If it’s for print, ensure your color mode is set correctly (often CMYK for professional printing) and that you have adequate bleed areas if the design extends to the edge. For digital use, optimizing file size without sacrificing quality can improve loading times. By thinking about the final output during the design process, you ensure a smooth transition from screen to finished product, whether it's a digital invite or a printed poster.